Fresh & Colorful Watercolor Card with Cozy Mornings
by Erum Tasneem September 25, 2026

Key Takeaways
Technique Highlight: White heat embossing seals line art with clear barriers, making loose watercolor painting easy and keeping stamped images sharp.
Color Depth Strategy: Apply concentrated pigment at the base of petals, leaves, and glass elements, then pull it outward using a damp brush to build seamless gradients.
Seamless Backgrounds: Drop Phthalo Green and Dark Cyan onto wet paper to let watercolor pigments bloom and mix naturally without harsh lines.
Pro Tip for Glass: Always wait for the blue watercolor cup layer to dry completely before adding warm tea tones to avoid muddy color bleeding.
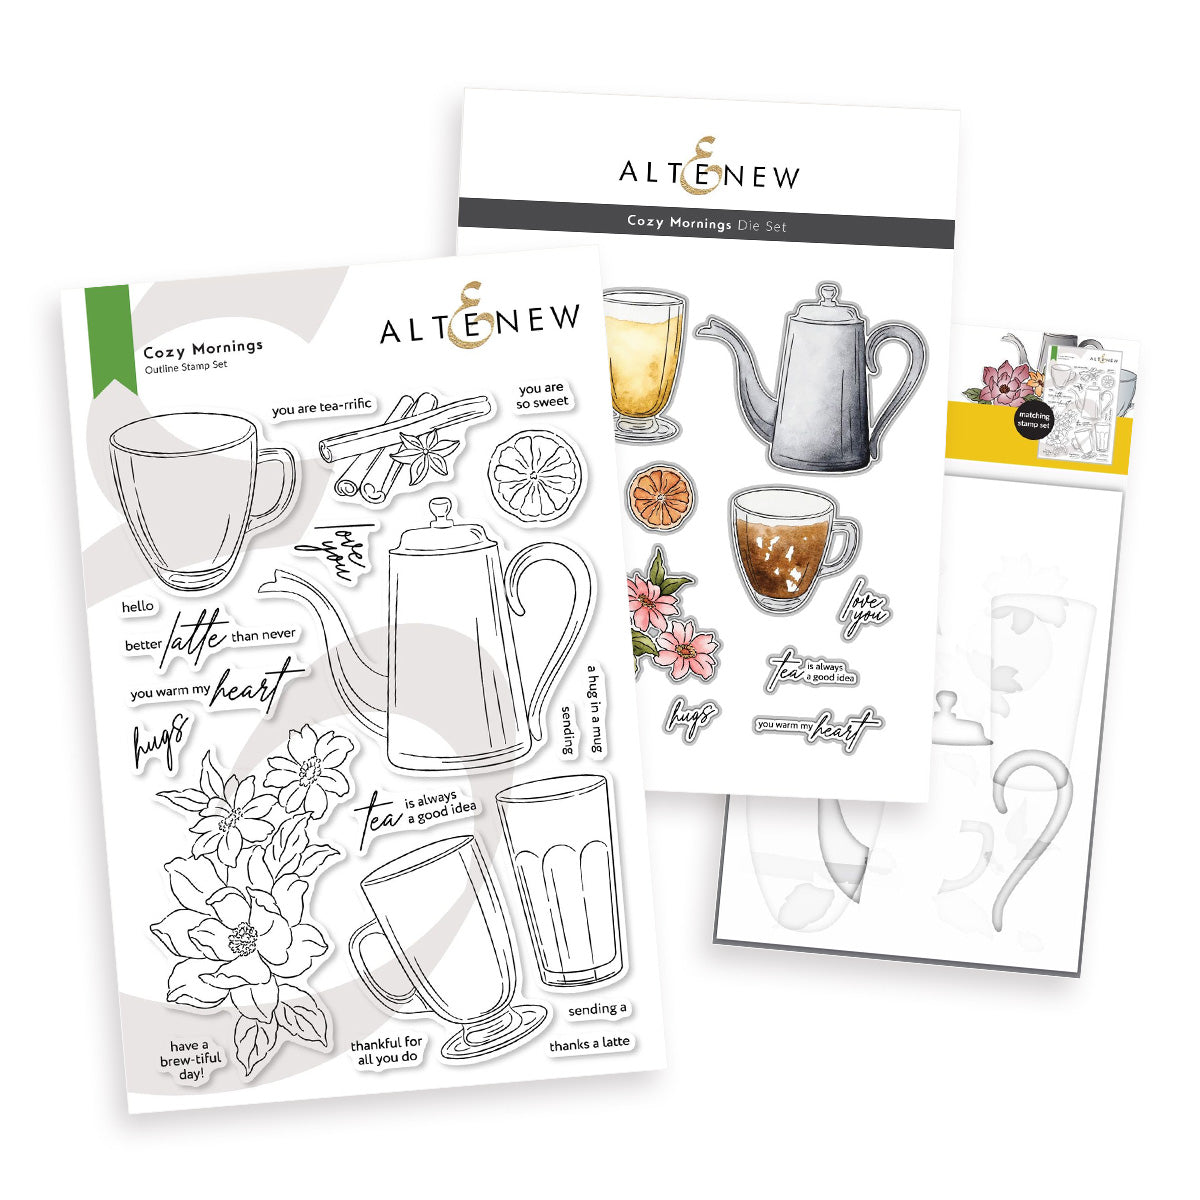
There’s something so refreshing about combining soft, atmospheric watercolor washes with bright pops of bold color! In today’s watercolor card making tutorial, we pair the versatile Cozy Mornings Stamp Set with vibrant watercolor tubes to craft a cheerful arrangement of loose florals, citrus slices, and a warm glass cup.


Crisp white heat embossing forms a resist line that holds watercolor pigments beautifully within each element. A soft, two-toned wet-on-wet watercolor background brings the composition together while keeping the finished card light, modern, and airy.

Step-By-Step Watercolor Card Making Tutorial
1. Stamp and Heat-Emboss the Images
Stamp your selected images from the Cozy Mornings Stamp Set onto high-quality watercolor cardstock using clear embossing ink. Generously cover the wet ink with Pure White Crisp Embossing Powder, tap off any excess powder, and heat-set the design with a craft heating tool until melted and shiny.

2. Watercolor the Large Floral Focal Point
Begin detailing the large flower with Quinacridone Magenta watercolor paint:
Apply a light wash of clean water over a single petal using a round paintbrush.
Touch a concentrated drop of pigment at the base where the petal meets the center.
Use a clean, damp brush to pull and diffuse the pigment outward toward the tip, leaving the very edge lighter for natural highlight.
Repeat this process across each petal. Once the initial wet layer dries fully, layer additional pigment near the petal bases to build richer tonal depth and shadow.

3. Paint Vibrant Leaves and Foliage
Mix Phthalo Green with a tiny touch of Phthalo Blue on your palette for a fresh botanical shade. Pre-wet each leaf with clean water, add pigment near the stem, and use a damp brush to feather the color toward the tips for a soft, blended look. For a bright, sunlit highlight, drop a touch of Yellow Lemon near the tips while the paint is still damp.
4. Color the Smaller Flowers and Citrus Slices
Color the smaller accent flowers with Permanent Yellow Deep, shading deeper crevices with SV Orange for added dimension.
For the refreshing lemon slices, paint concentrated Yellow Lemon along the outer rind and use clean water to let the pigment bloom gently inward toward the center pulp. Tint the inner sections lightly using a highly diluted yellow mix.
Tip: For effortless watercolor blends, let water do the heavy lifting! Place concentrated color only where you want the deepest shadows, then use a damp, clean brush to draw the pigment toward lighter highlights.

5. Render a Realistic Glass Cup and Warm Tea
Using a light, diluted wash of Dark Cyan, fill in the body of the cup. Dab slightly more concentrated paint along the outer contours and areas where the glass layers overlap to suggest depth and transparency. Allow the paint to dry completely.
Next, mix Gold Ochre on your palette and paint the cozy tea filling inside the cup using a smooth, single wash without overworking the paper.
Tip: When watercoloring glass elements, ensure your cool blue base layer is 100% dry before applying warm tea shades like Gold Ochre to prevent muddy color bleed.
6. Create a Loose Wet-on-Wet Watercolor Background
Moisten a full A2-sized watercolor cardstock panel evenly with clean water. Drop Phthalo Green and Dark Cyan wet-into-wet across different sections, allowing the paints to blend and bloom organically rather than force-mixing them. Once dry, adhere this painted panel firmly to your card base.
7. Assemble and Embellish Your Handmade Card
Die-cut all of your finished watercolor elements using their coordinating dies. Playfully arrange the floral bloom, lemon slices, green leaves, and glass cup over your background, securing them with foam adhesive or fluid glue for dimensional variation.
Stamp your sentiment cleanly using crisp Obsidian Pigment Ink, cut it out with the coordinating die, and mount it prominently over the central cluster. To complete the look, flick subtle black splatters around the arrangement using a 0.5 Fine Liner Pen dipped in diluted ink.
Crafting Your Own Custom Card Composition
The soft contrast between a loose, expressive watercolor wash and crisp, heat-embossed line art adds depth without overwhelming the eye. The combination of leafy greens, zesty yellows, and vibrant pops of pink and orange creates an inviting, bright mood.
Feel free to swap out color palettes or reconfigure elements from the Cozy Mornings Set to design your own uniquely handmade greeting cards. Happy crafting!
SUPPLY LIST
|